I made a tiny coptic bound book to use as a photo album only to discover that it puffed up in a not very nice way once I glued all the photos in it. After examining some photo albums and investigating techniques online, I realized that they include an extra layer in the binding to accommodate the thickness of the photos. Here are some photos and notes on the technique that ended up working for me.
Bonus: I just got an adorable Polaroid Zip, a little printer that prints on a sort of color thermal photo paper (no ink) via Bluetooth from your smartphone, so I made the album the right size for its sticker photo paper. I’m not sponsored by them or anything ;), only mention it in case this sparks a fun idea for someone who has one too. I’ll add that they are not perfect, the photos have to be fairly high quality to come out well. Grainy photos (eg. taken somewhere poorly lit) don’t print well at all, worse than they would with a regular ink and paper process.
Bonus 2: a nice embossing technique I learned from the aforementioned CCSF bookbinding class.

Fold cardstock in half with the grain:

Score a line about 1/8″ from the folded edge, fold that edge over and glue it flat:


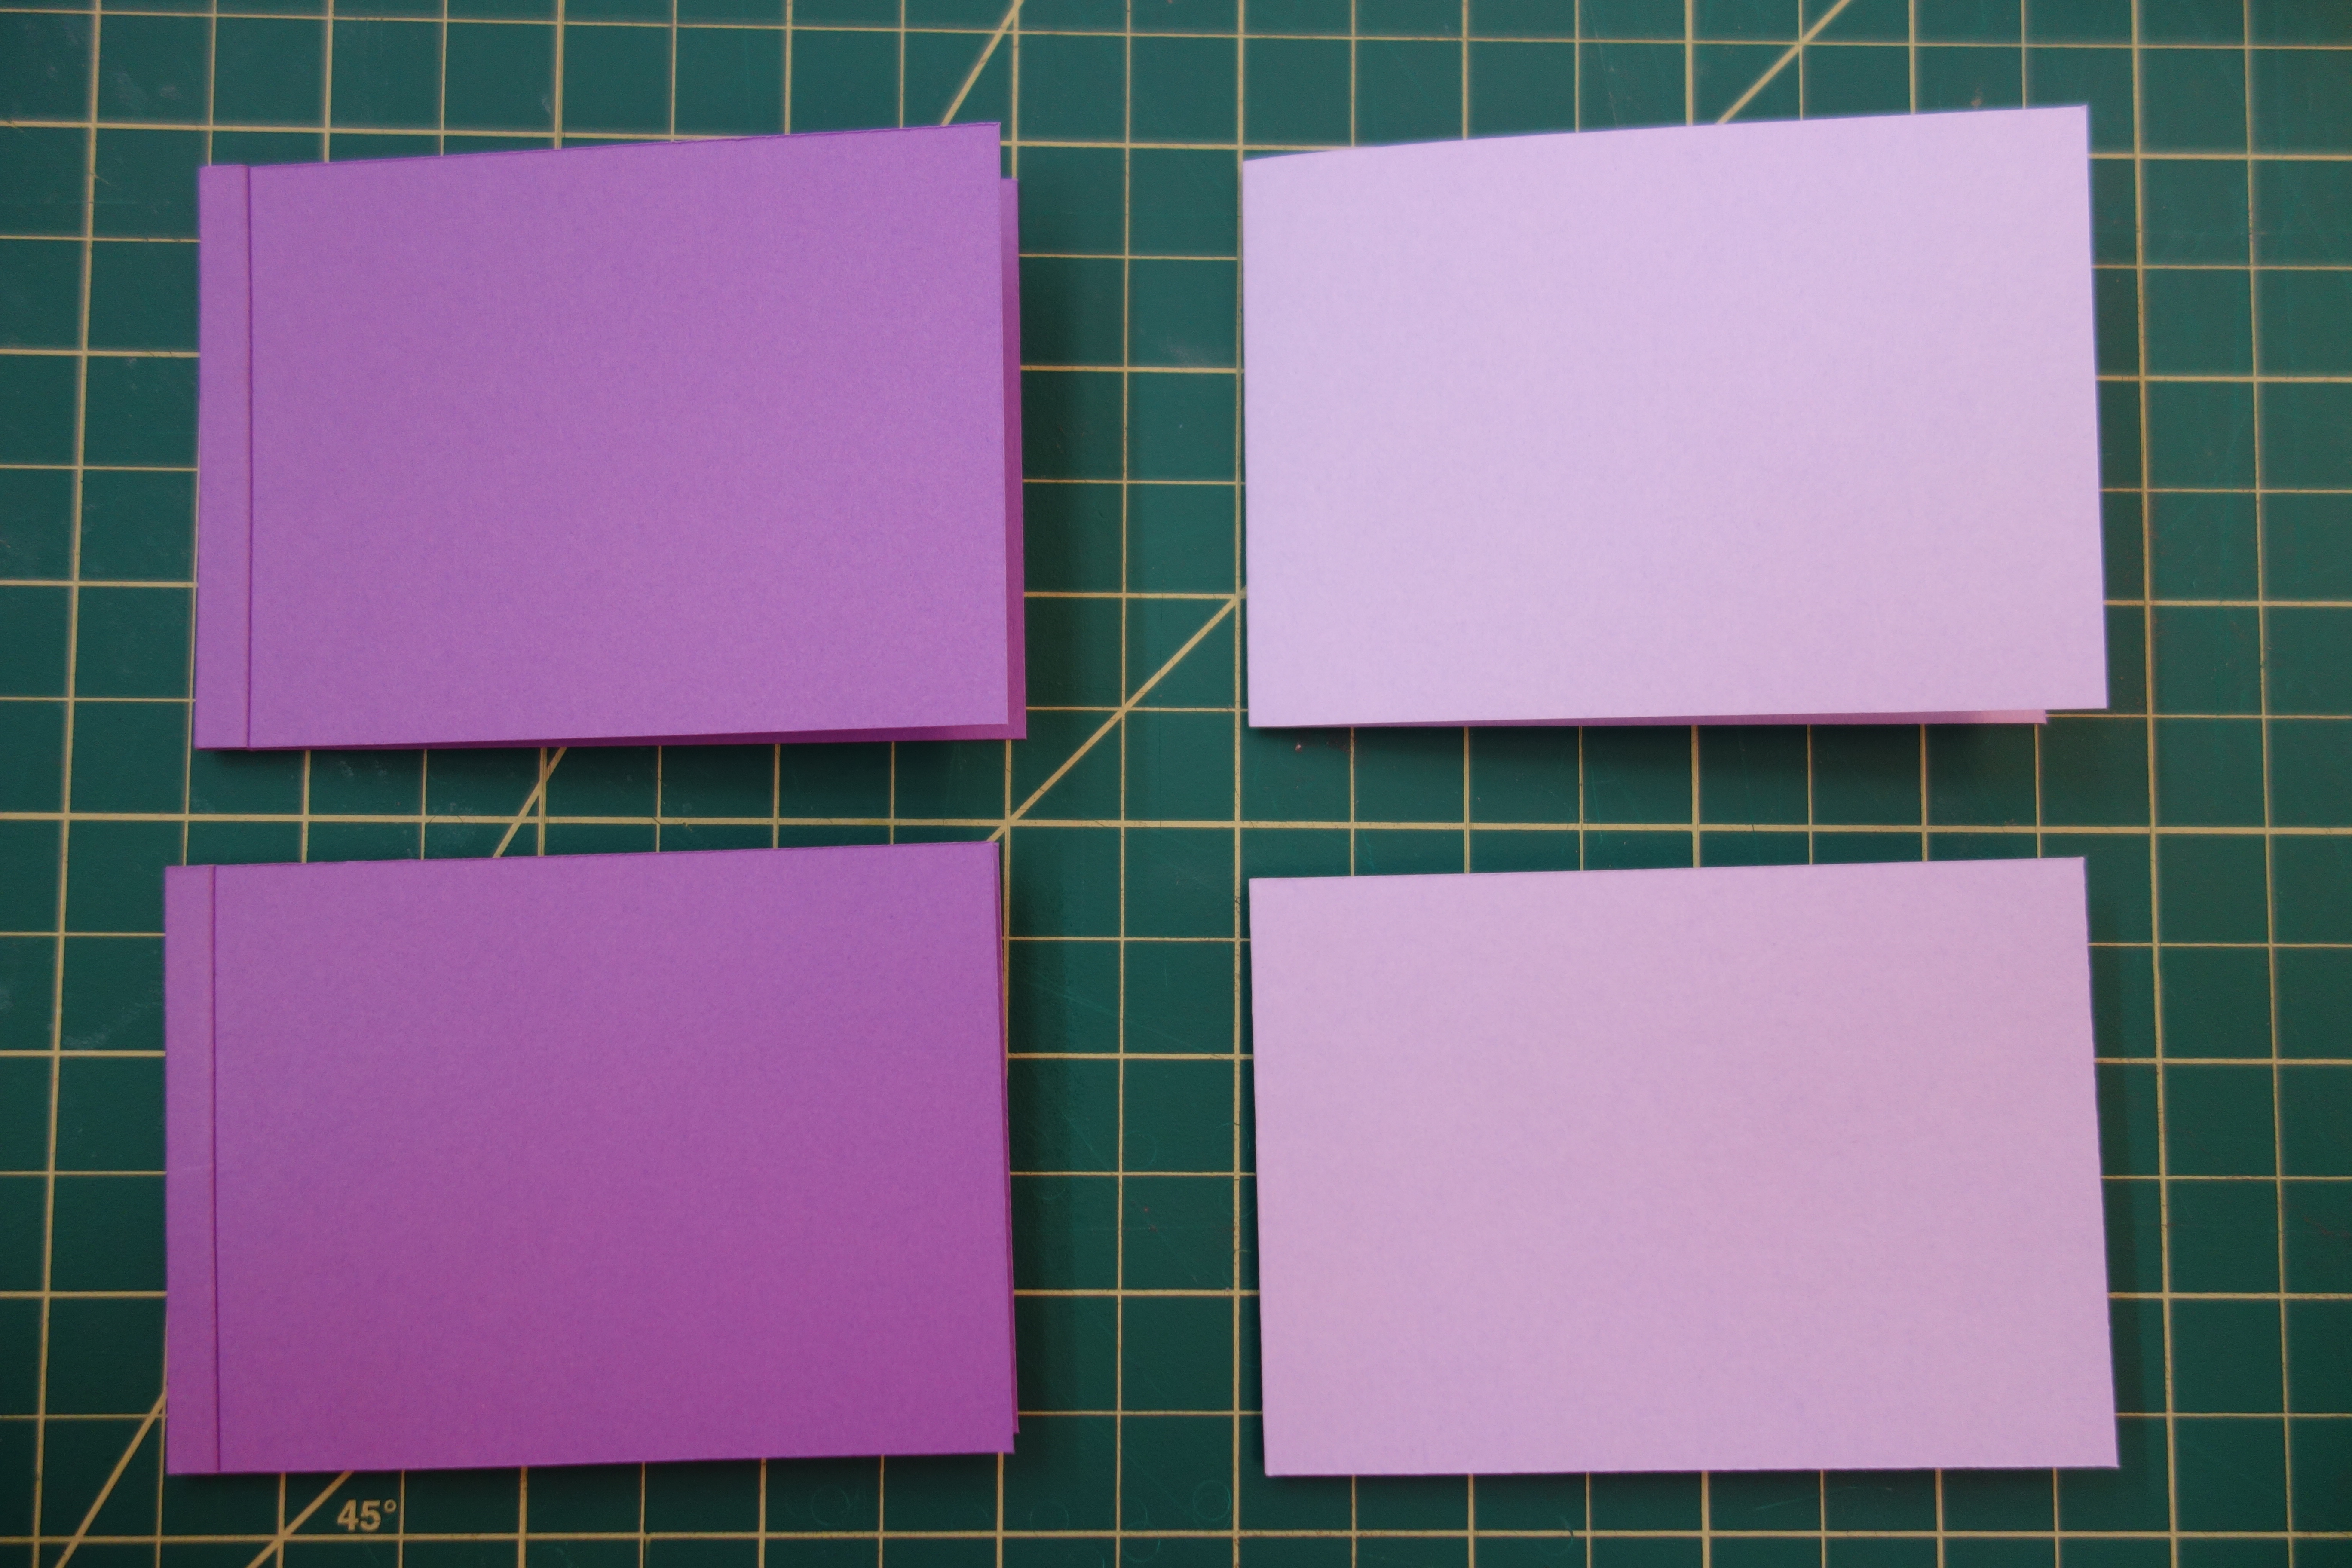
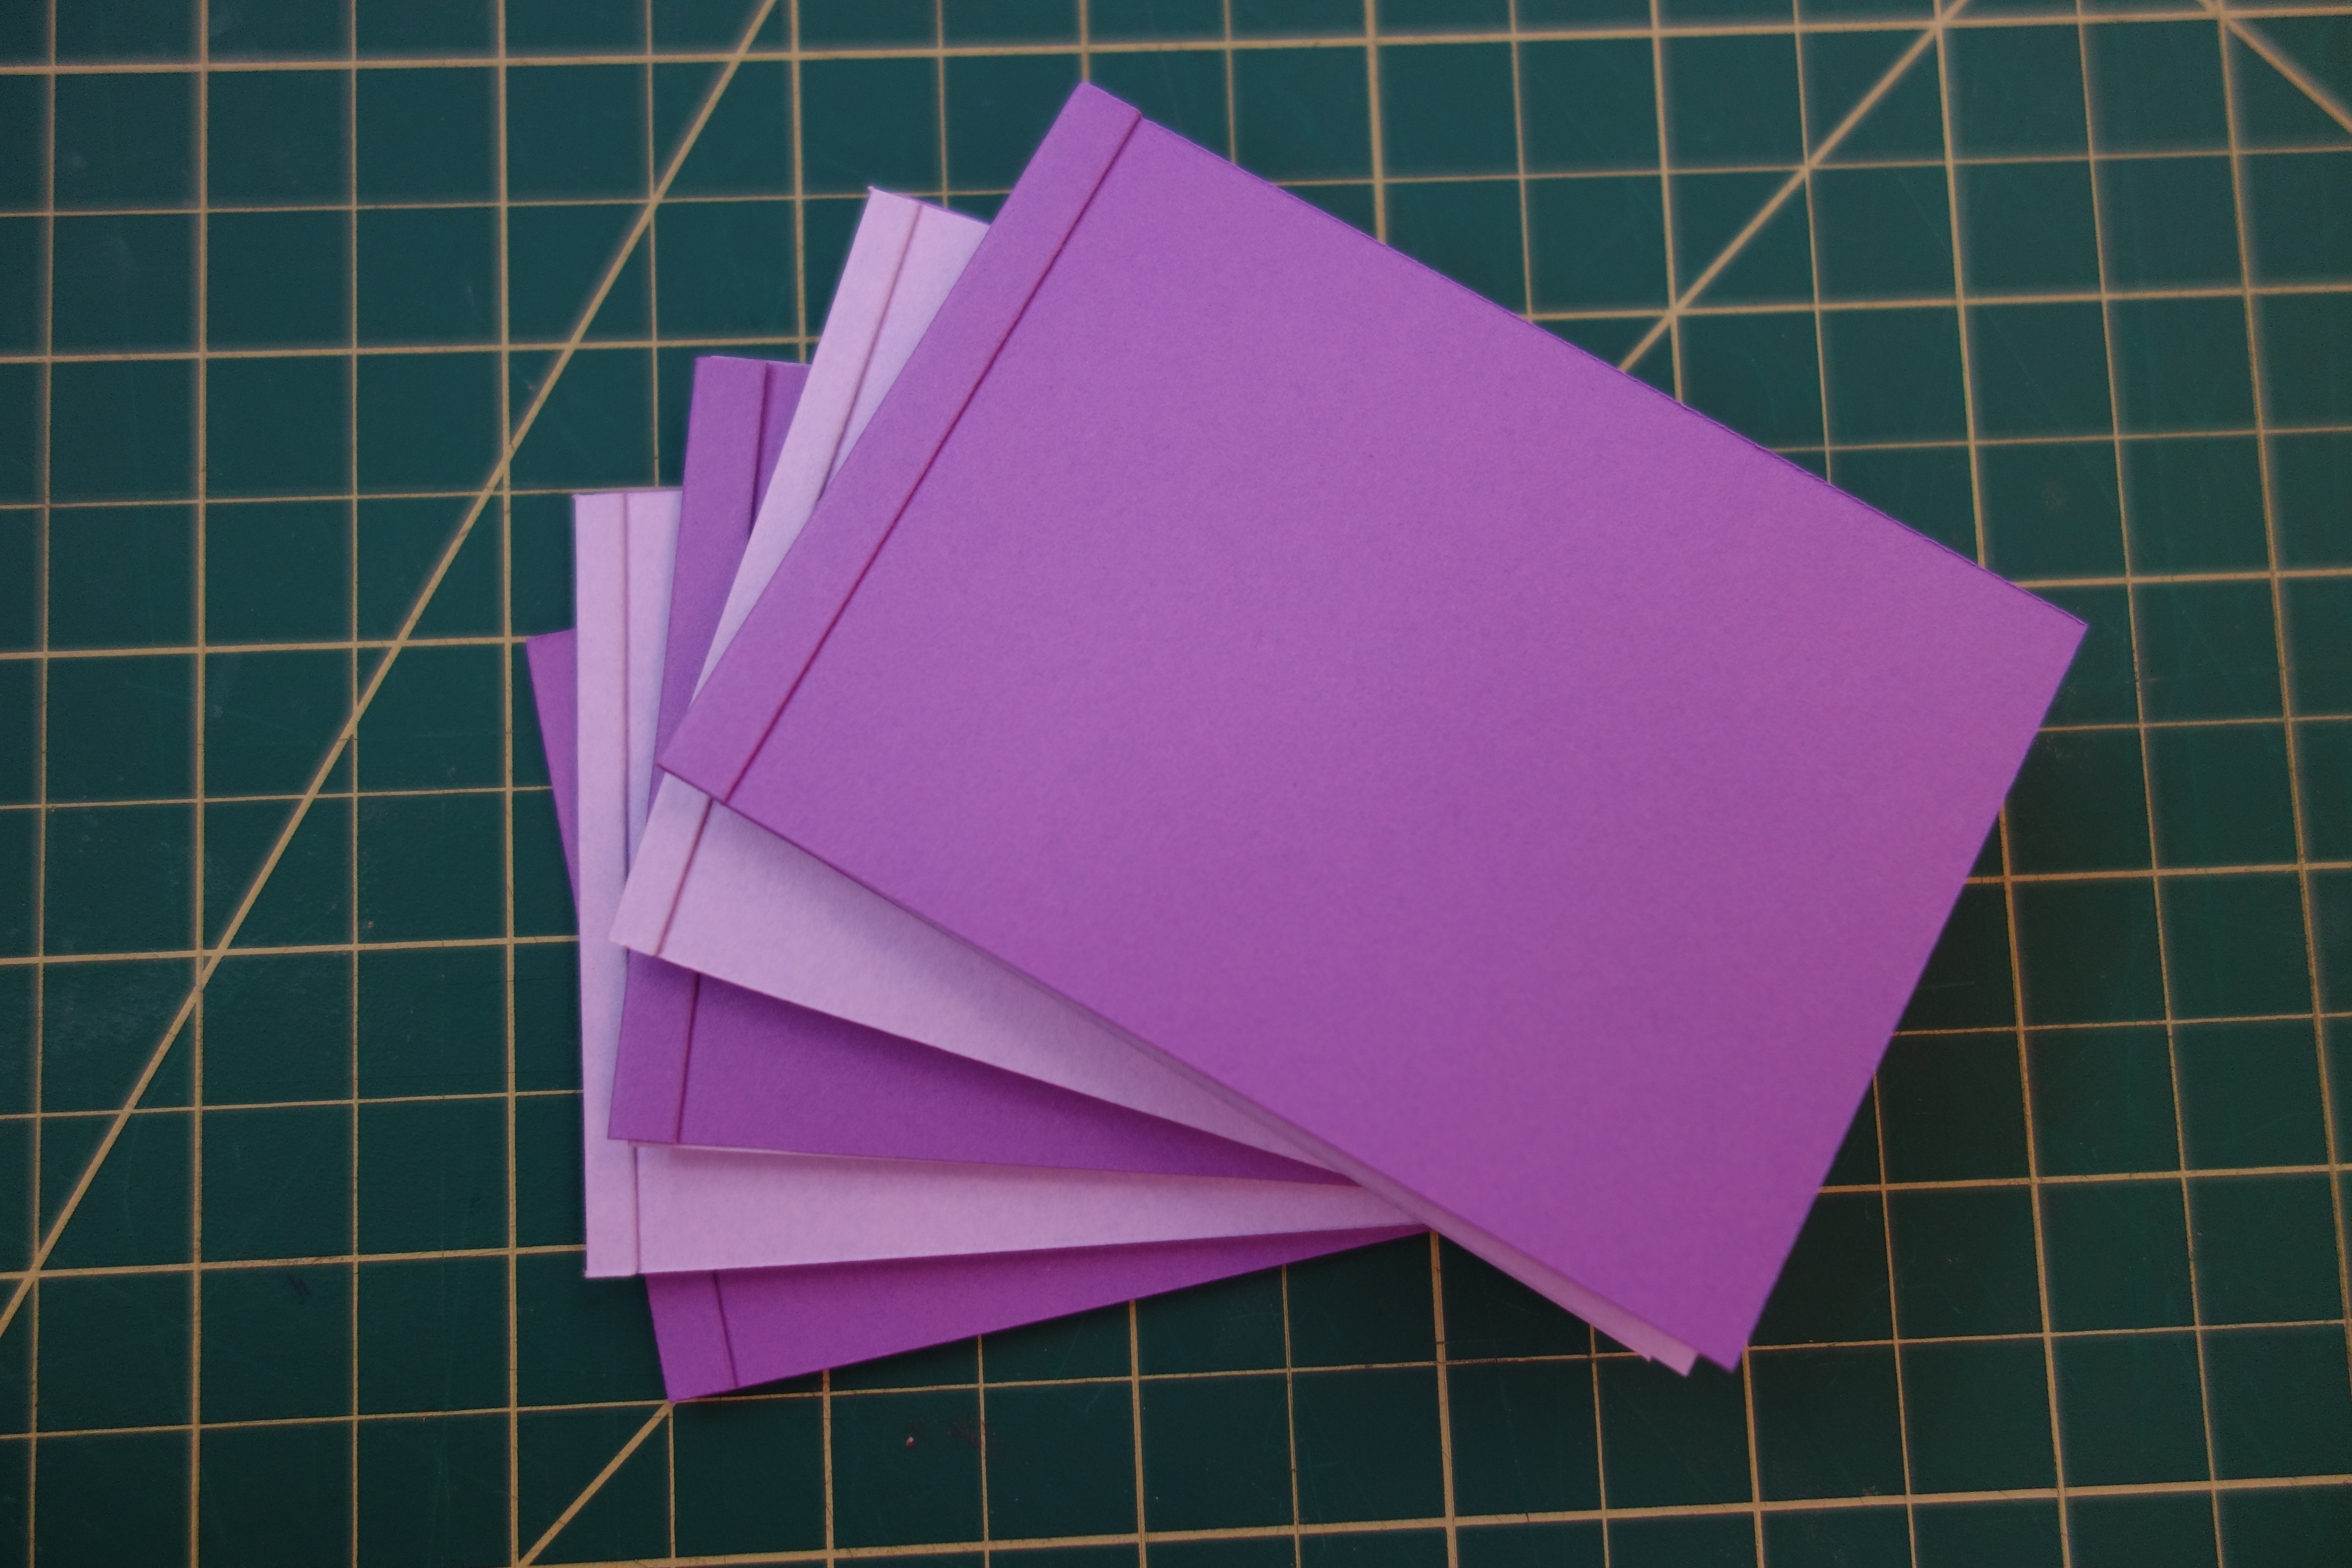
Cut into folios the size of your book then collect into signatures. Each signature contains two folios. The outer one has the extra paper at the fold. The inner one is simply folded over.
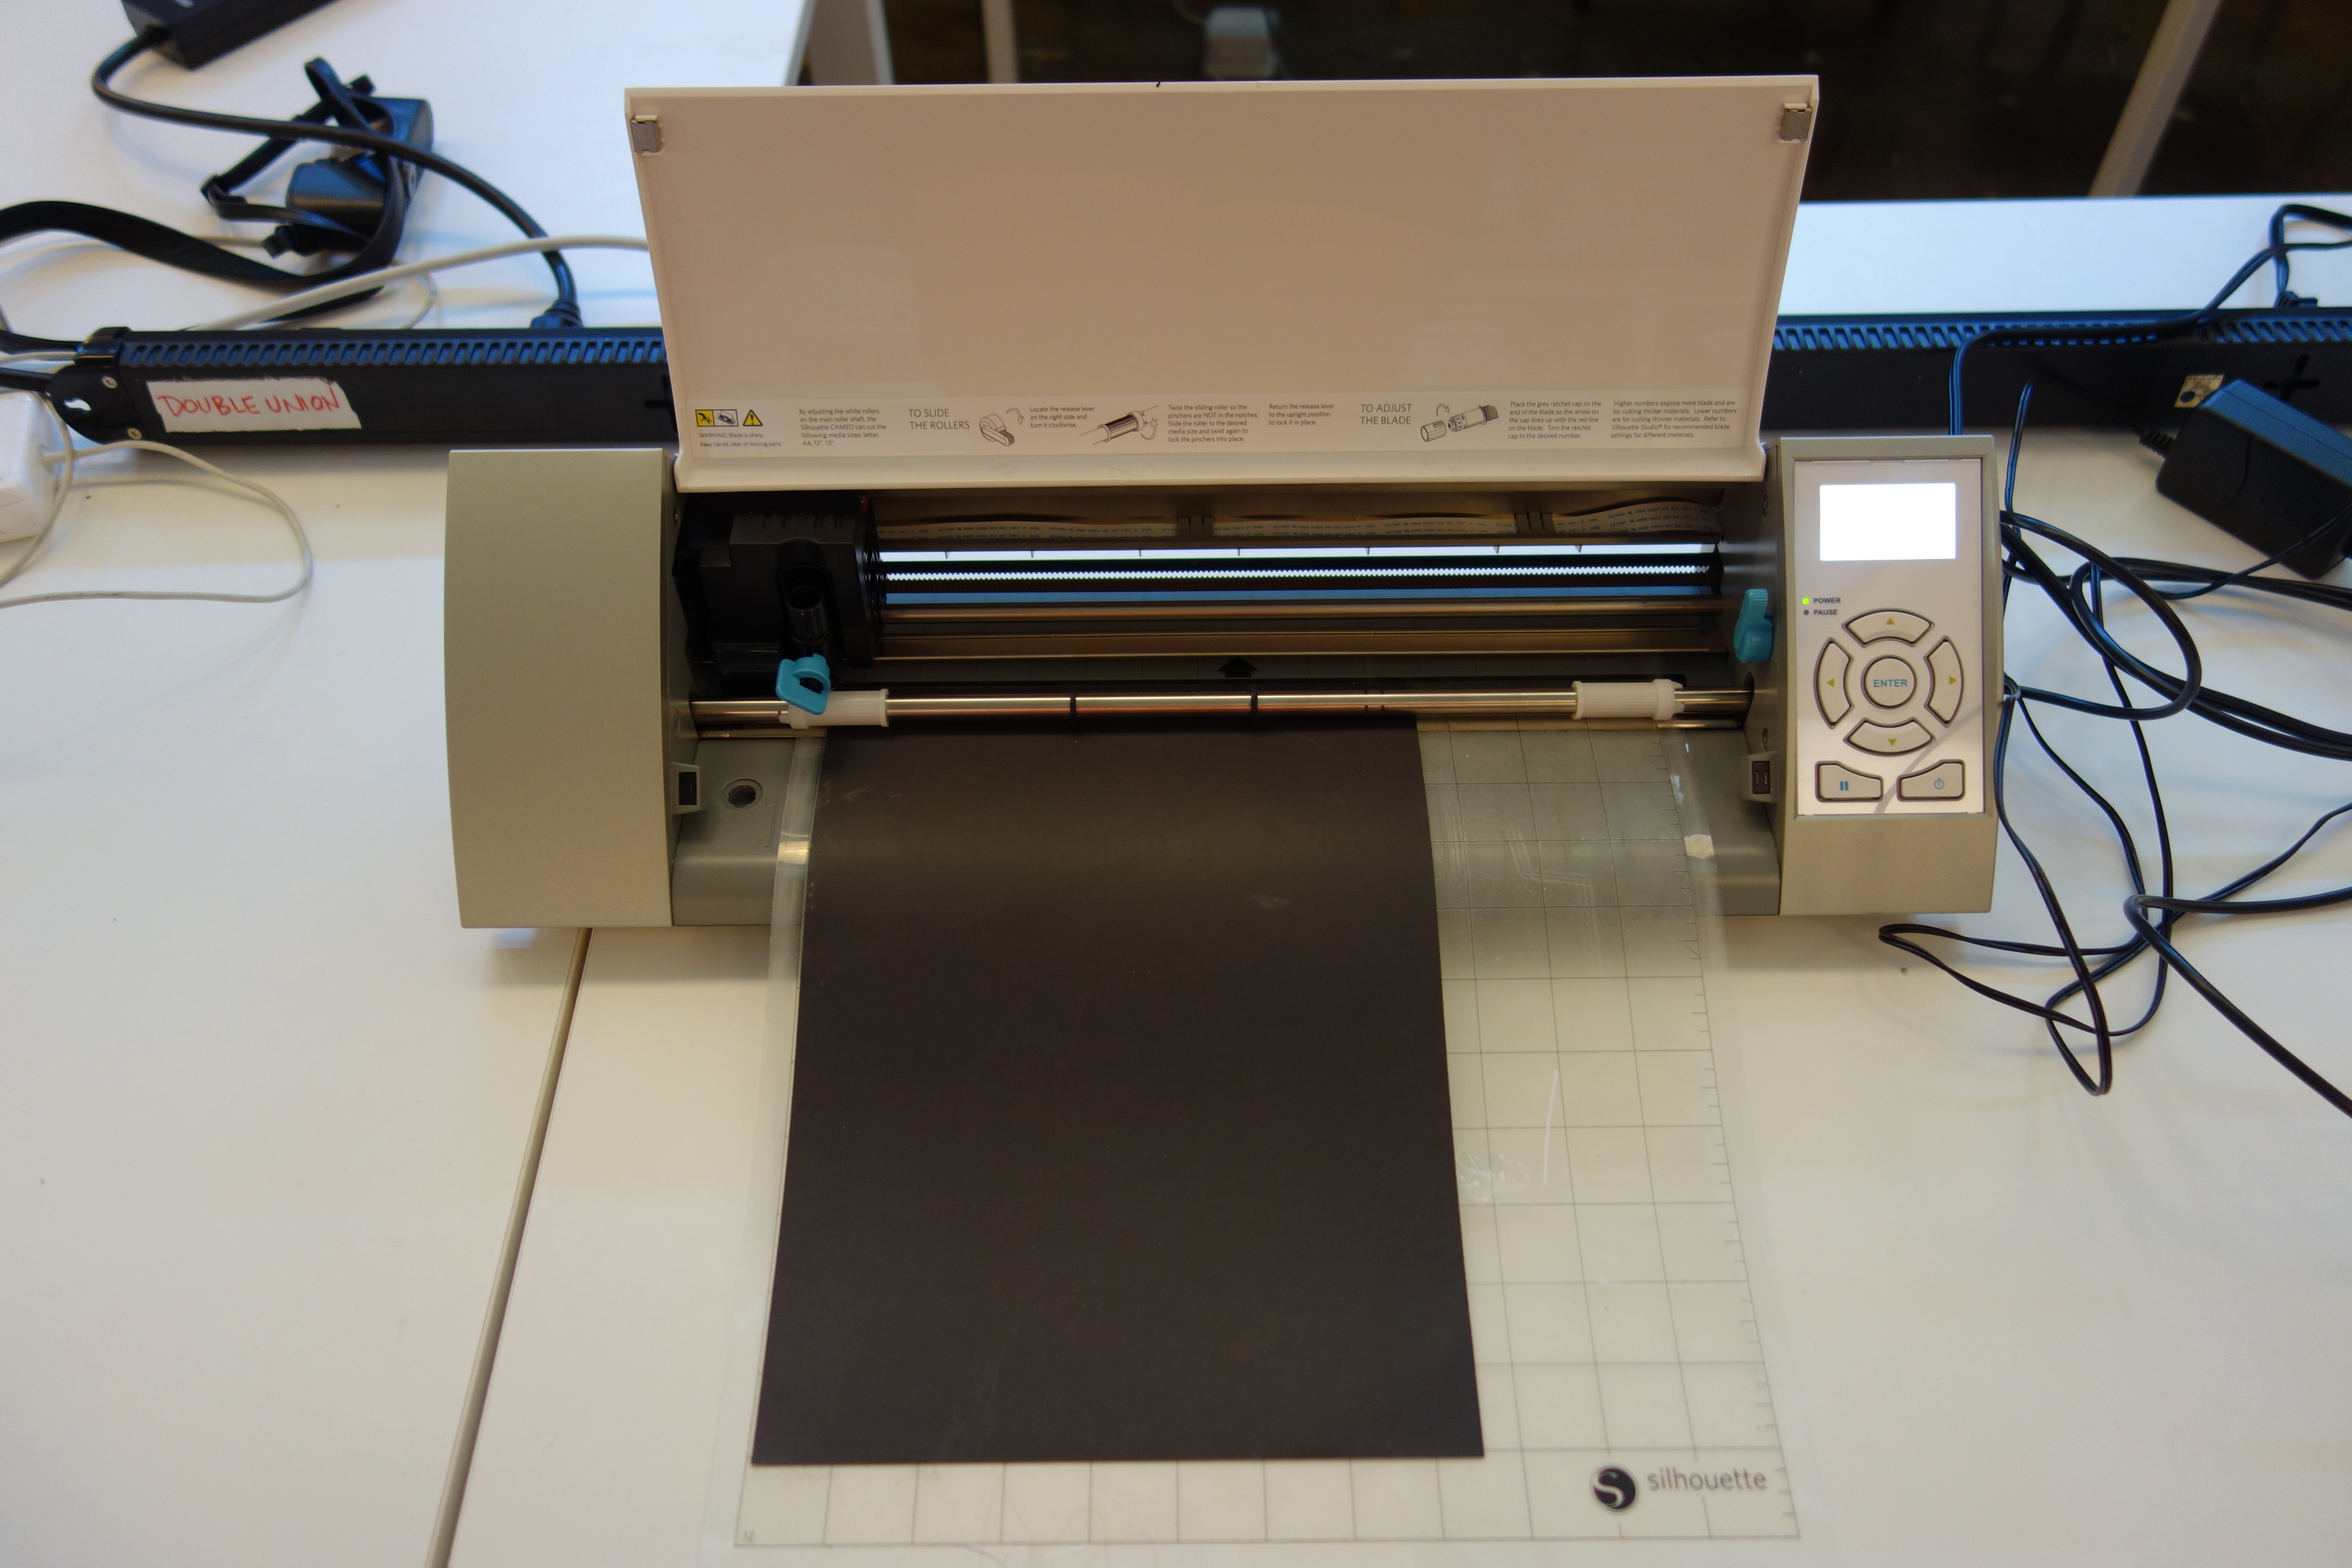
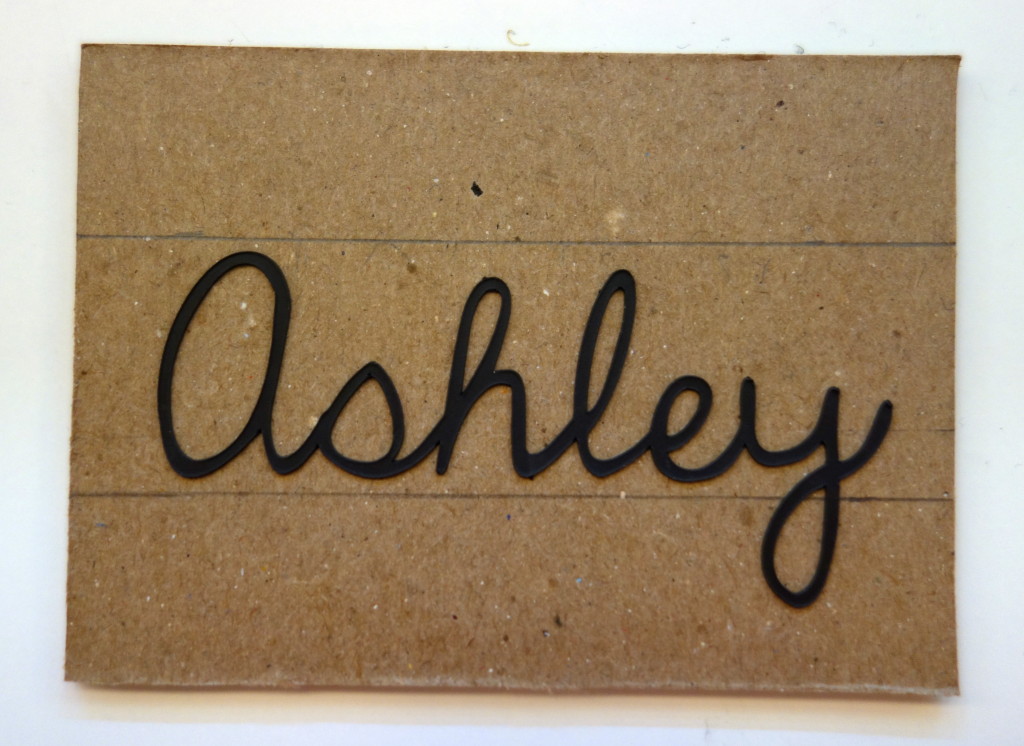
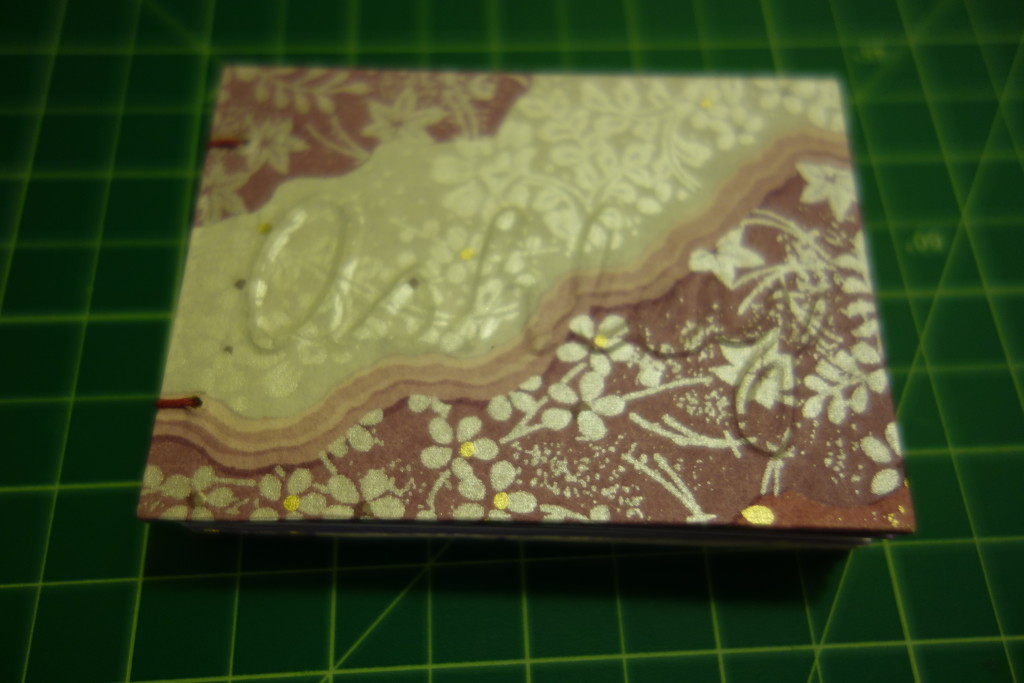
To make an embossed cover, I used a craft cutter to cut out adhesive backed magnet sheet and adhered the letters to the bookboard cover. Pencils lines help get it straight! Then I covered it all with decorative paper and used a bone folder to smooth the paper gently around and inside the letters.


I forgot to take a picture of the cover before I put it all together so this photo skips ahead a bit but it shows the embossing. Your design or lettering could stand out a bit more on with a solid color for the paper, but I was going for subtle and textural (or at least I say that now :).
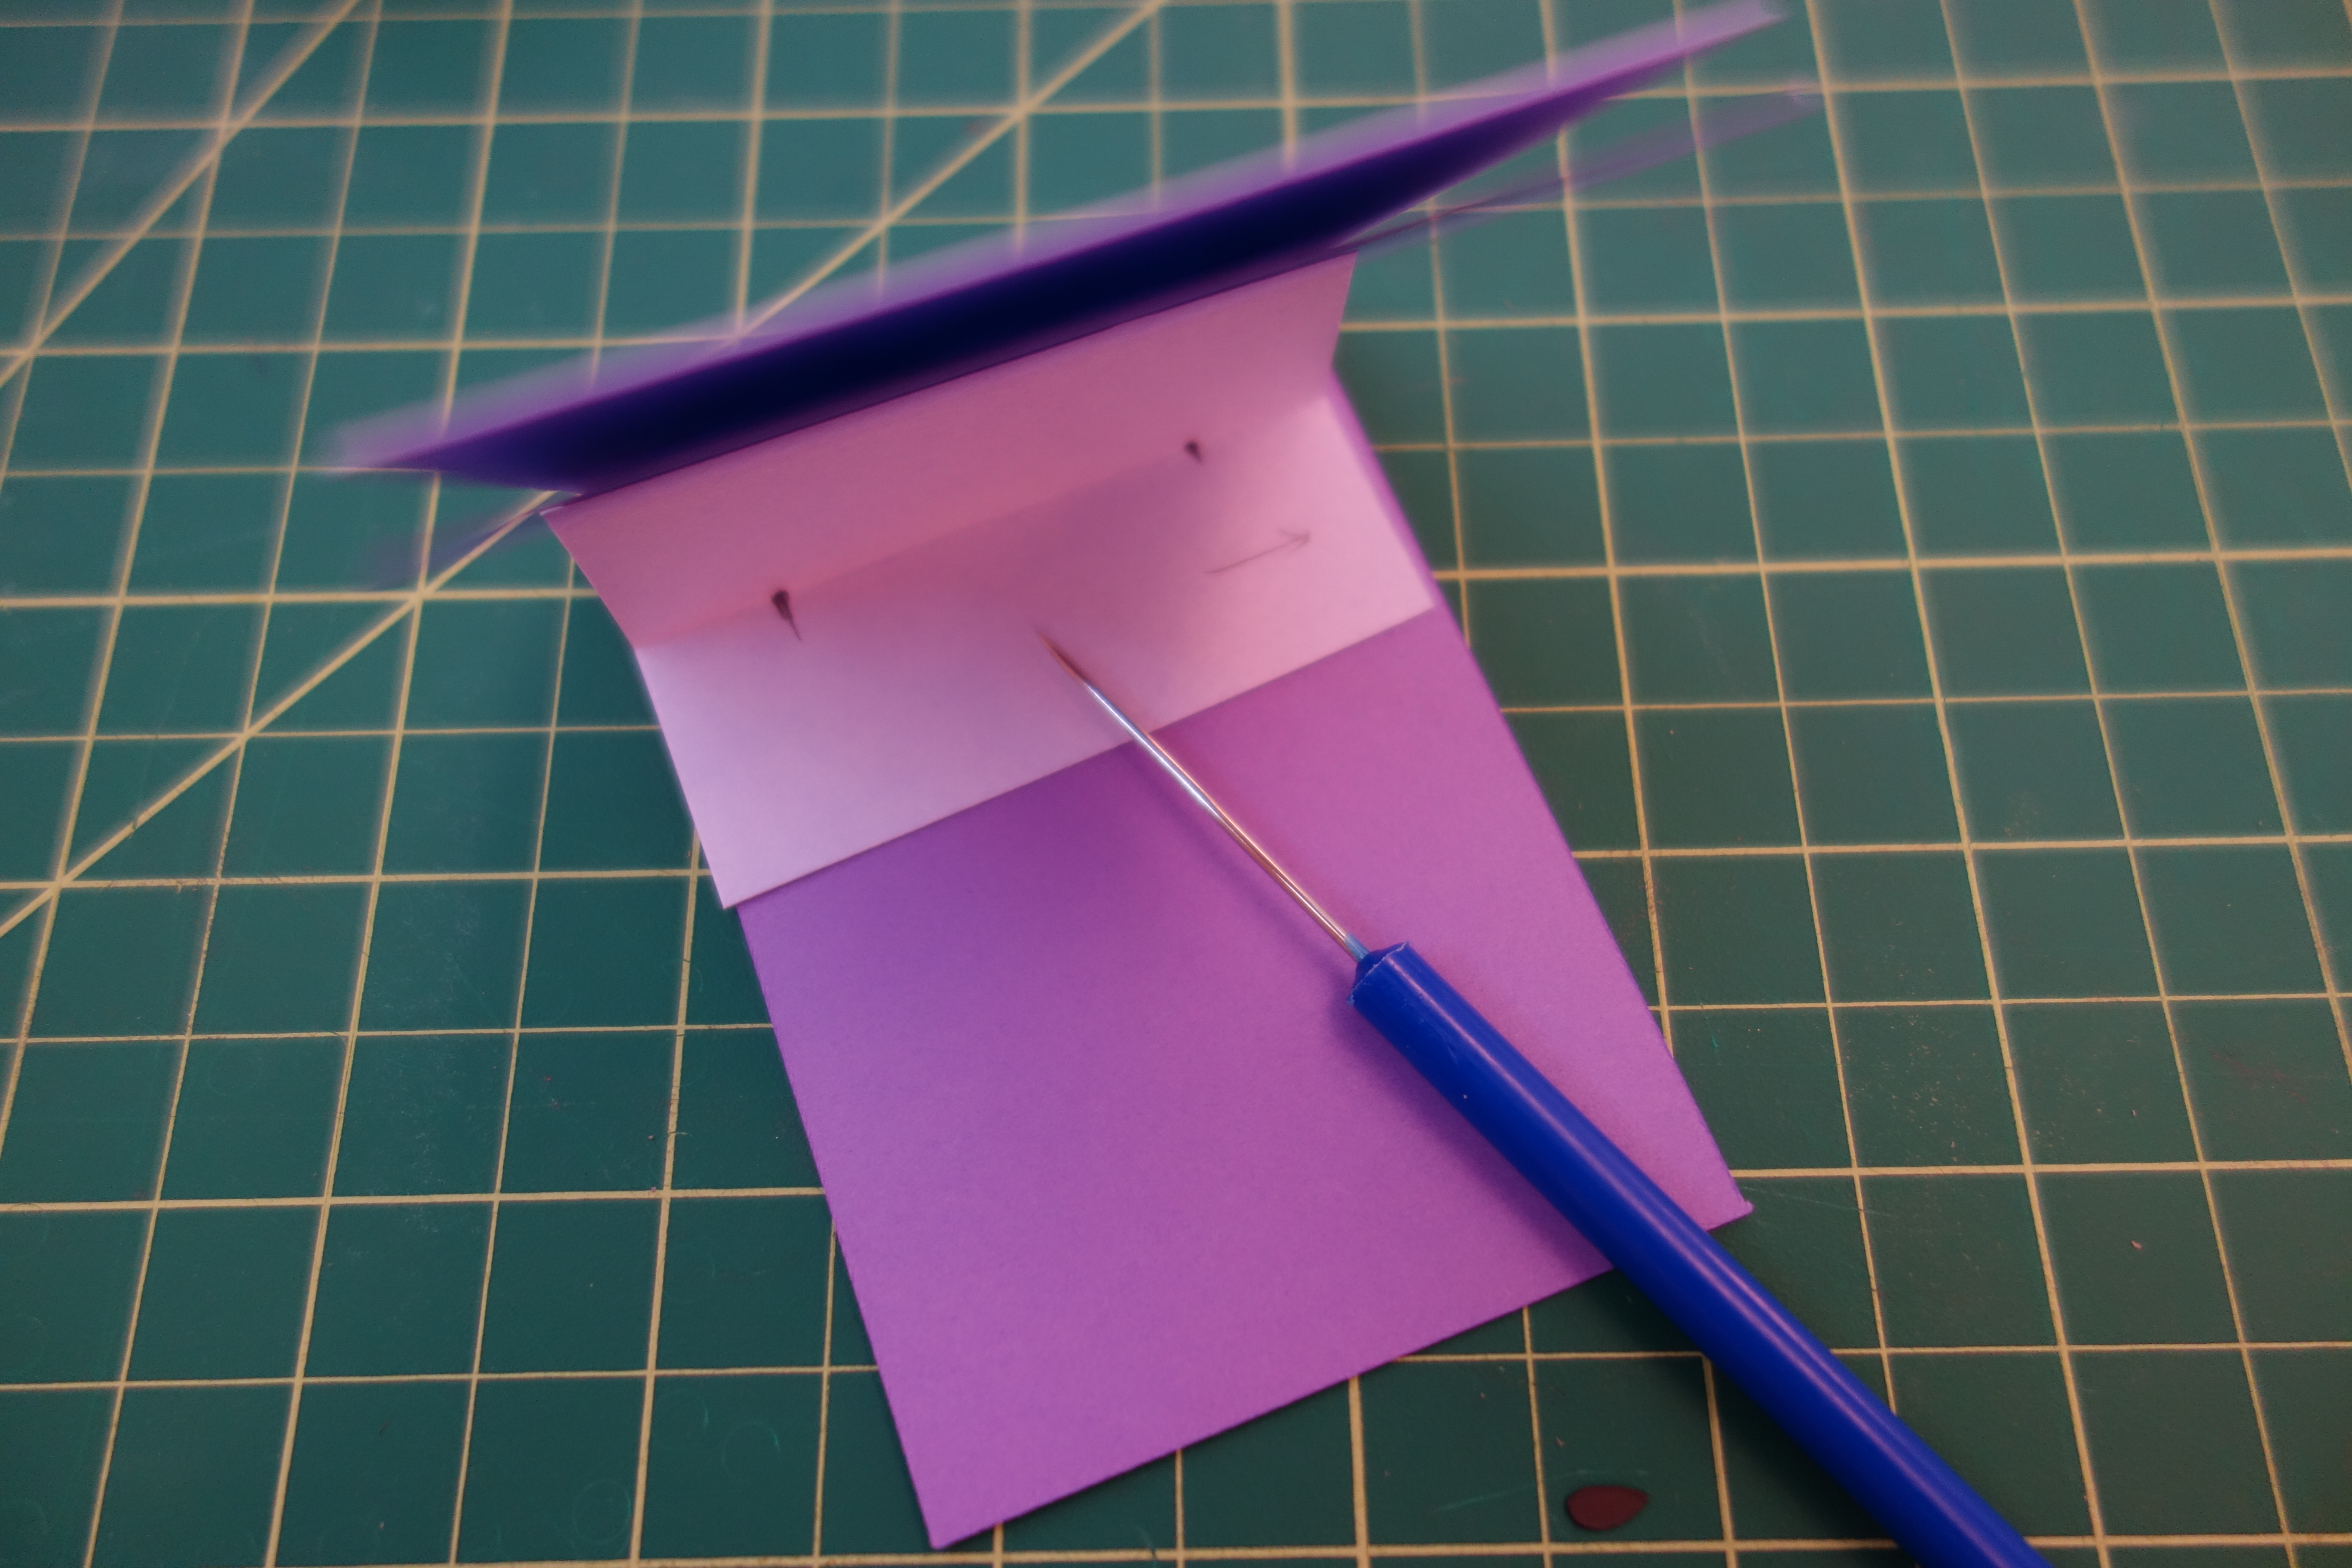
Poke holes in each signature with an awl, using a folded template to keep them all the same.

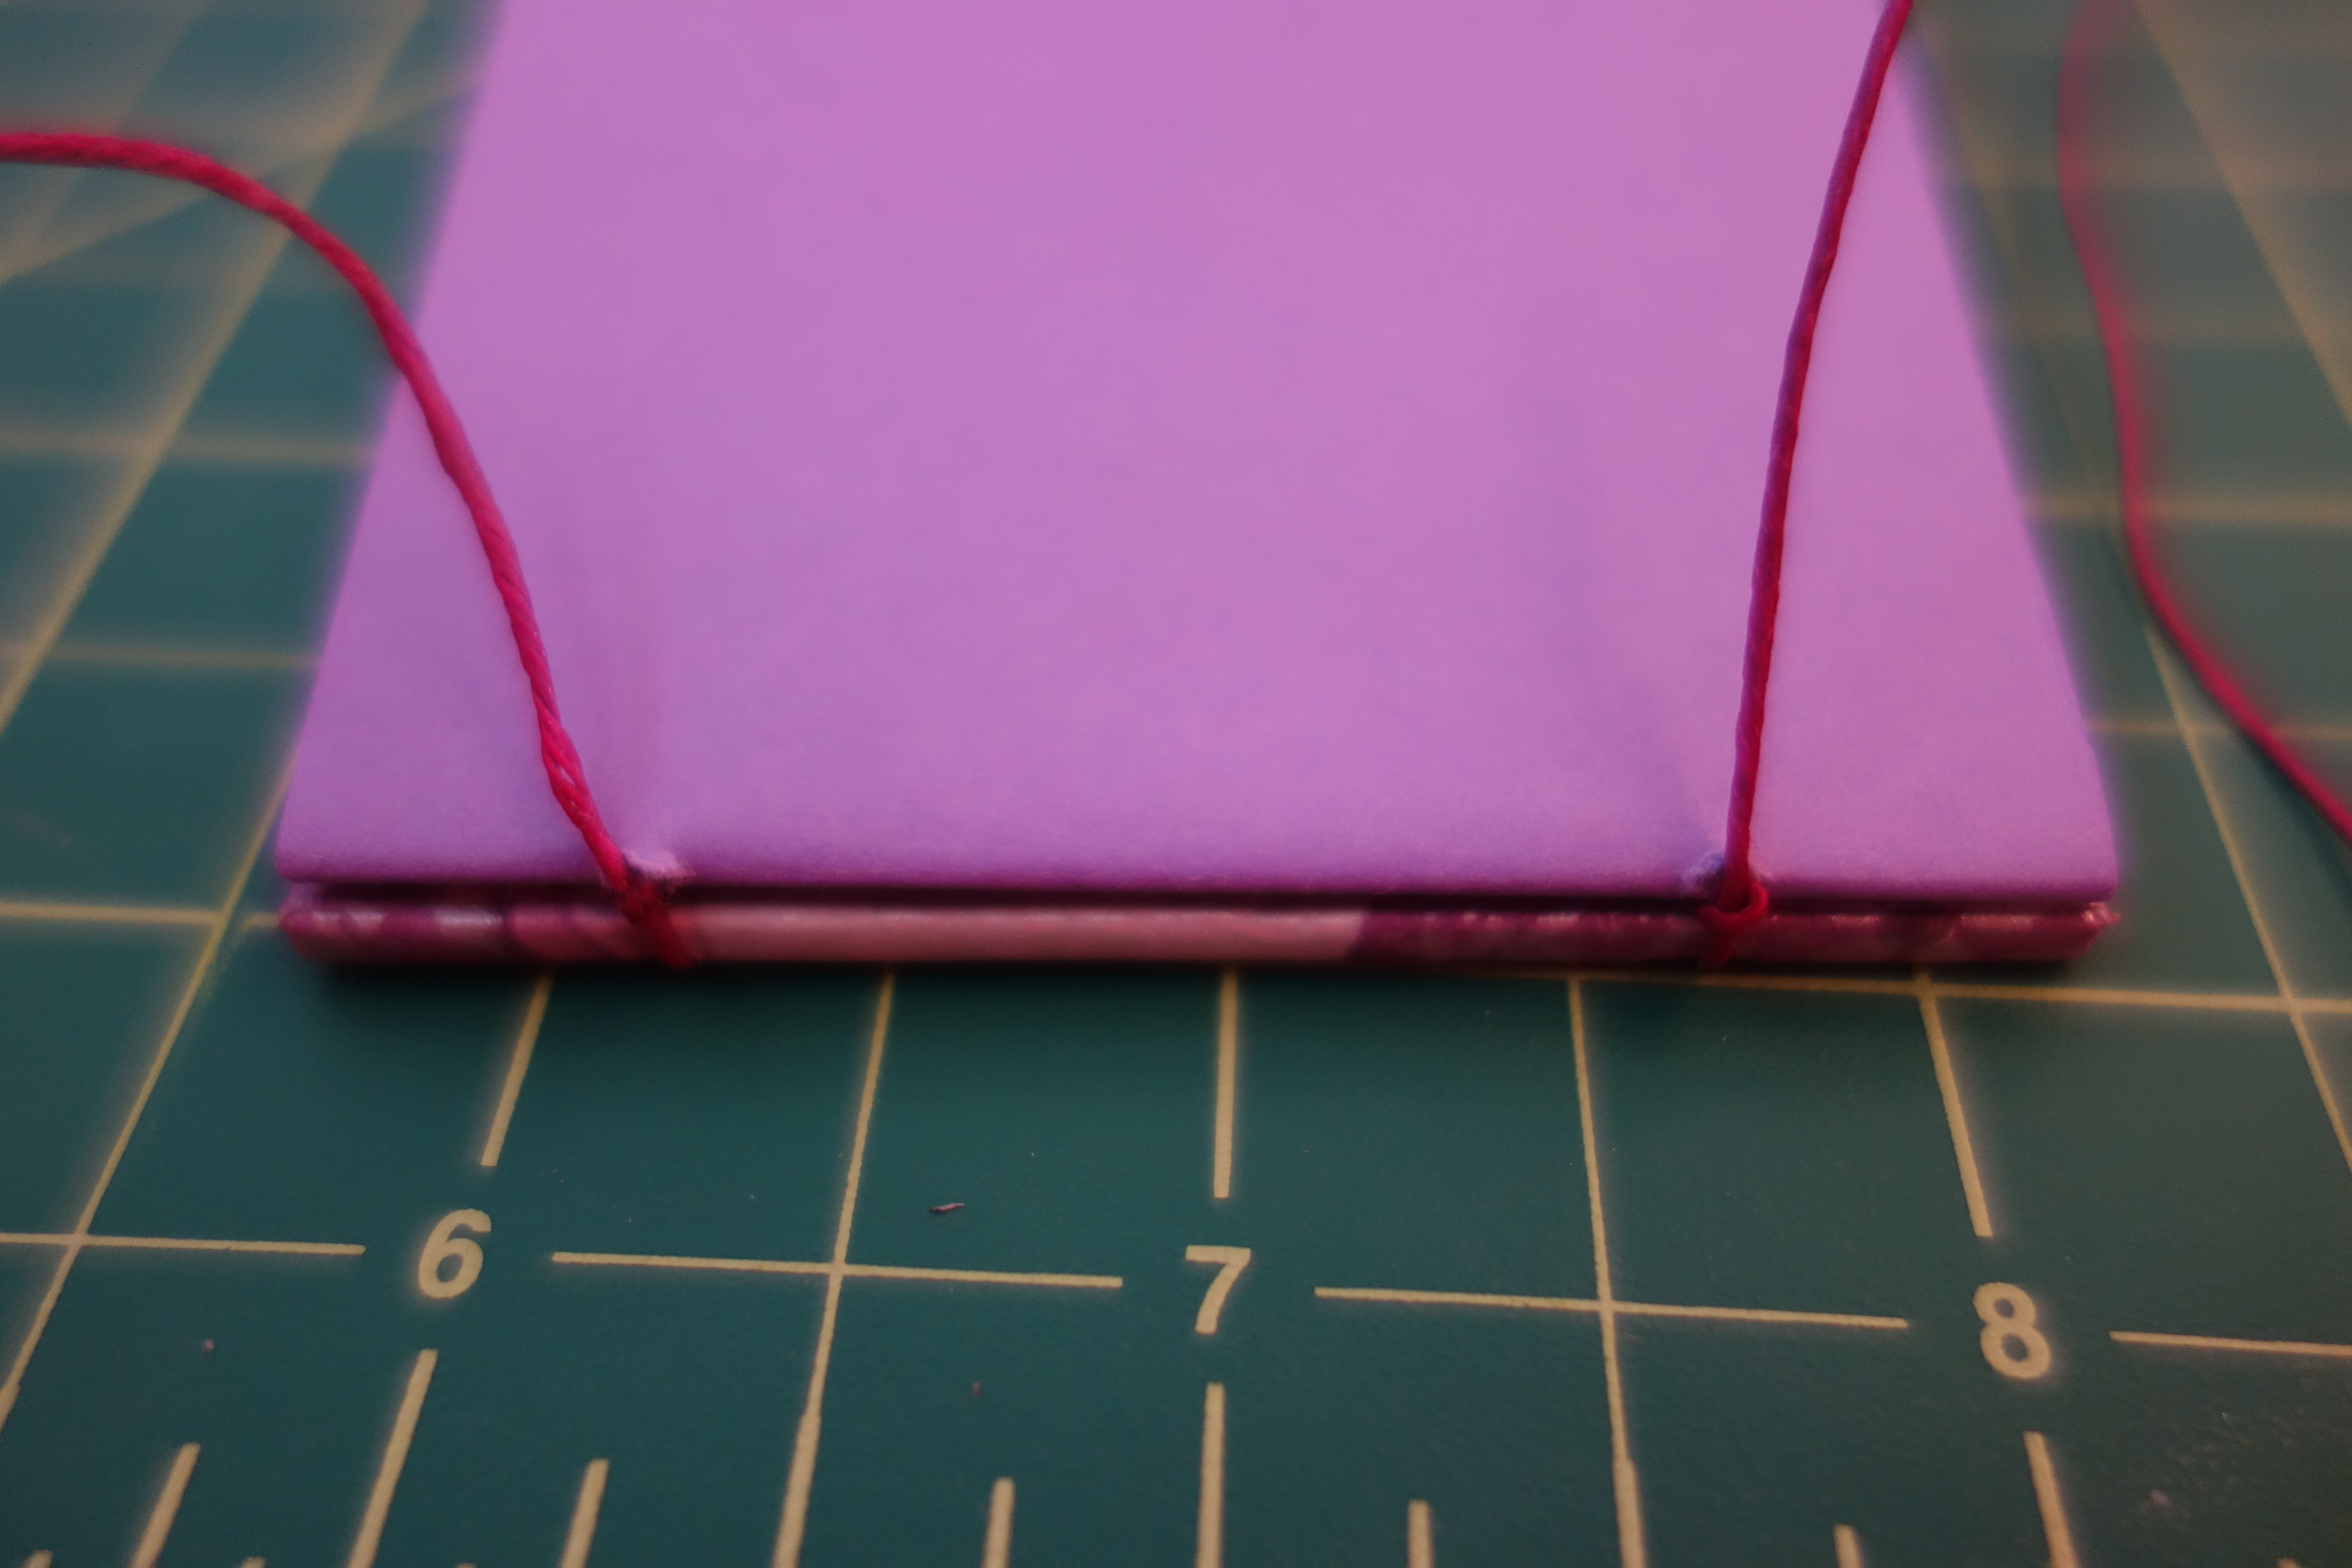
Use a paired-needle coptic stitch to attach signatures and covers. I’m going to recommend this tutorial because it is super gorgeous.
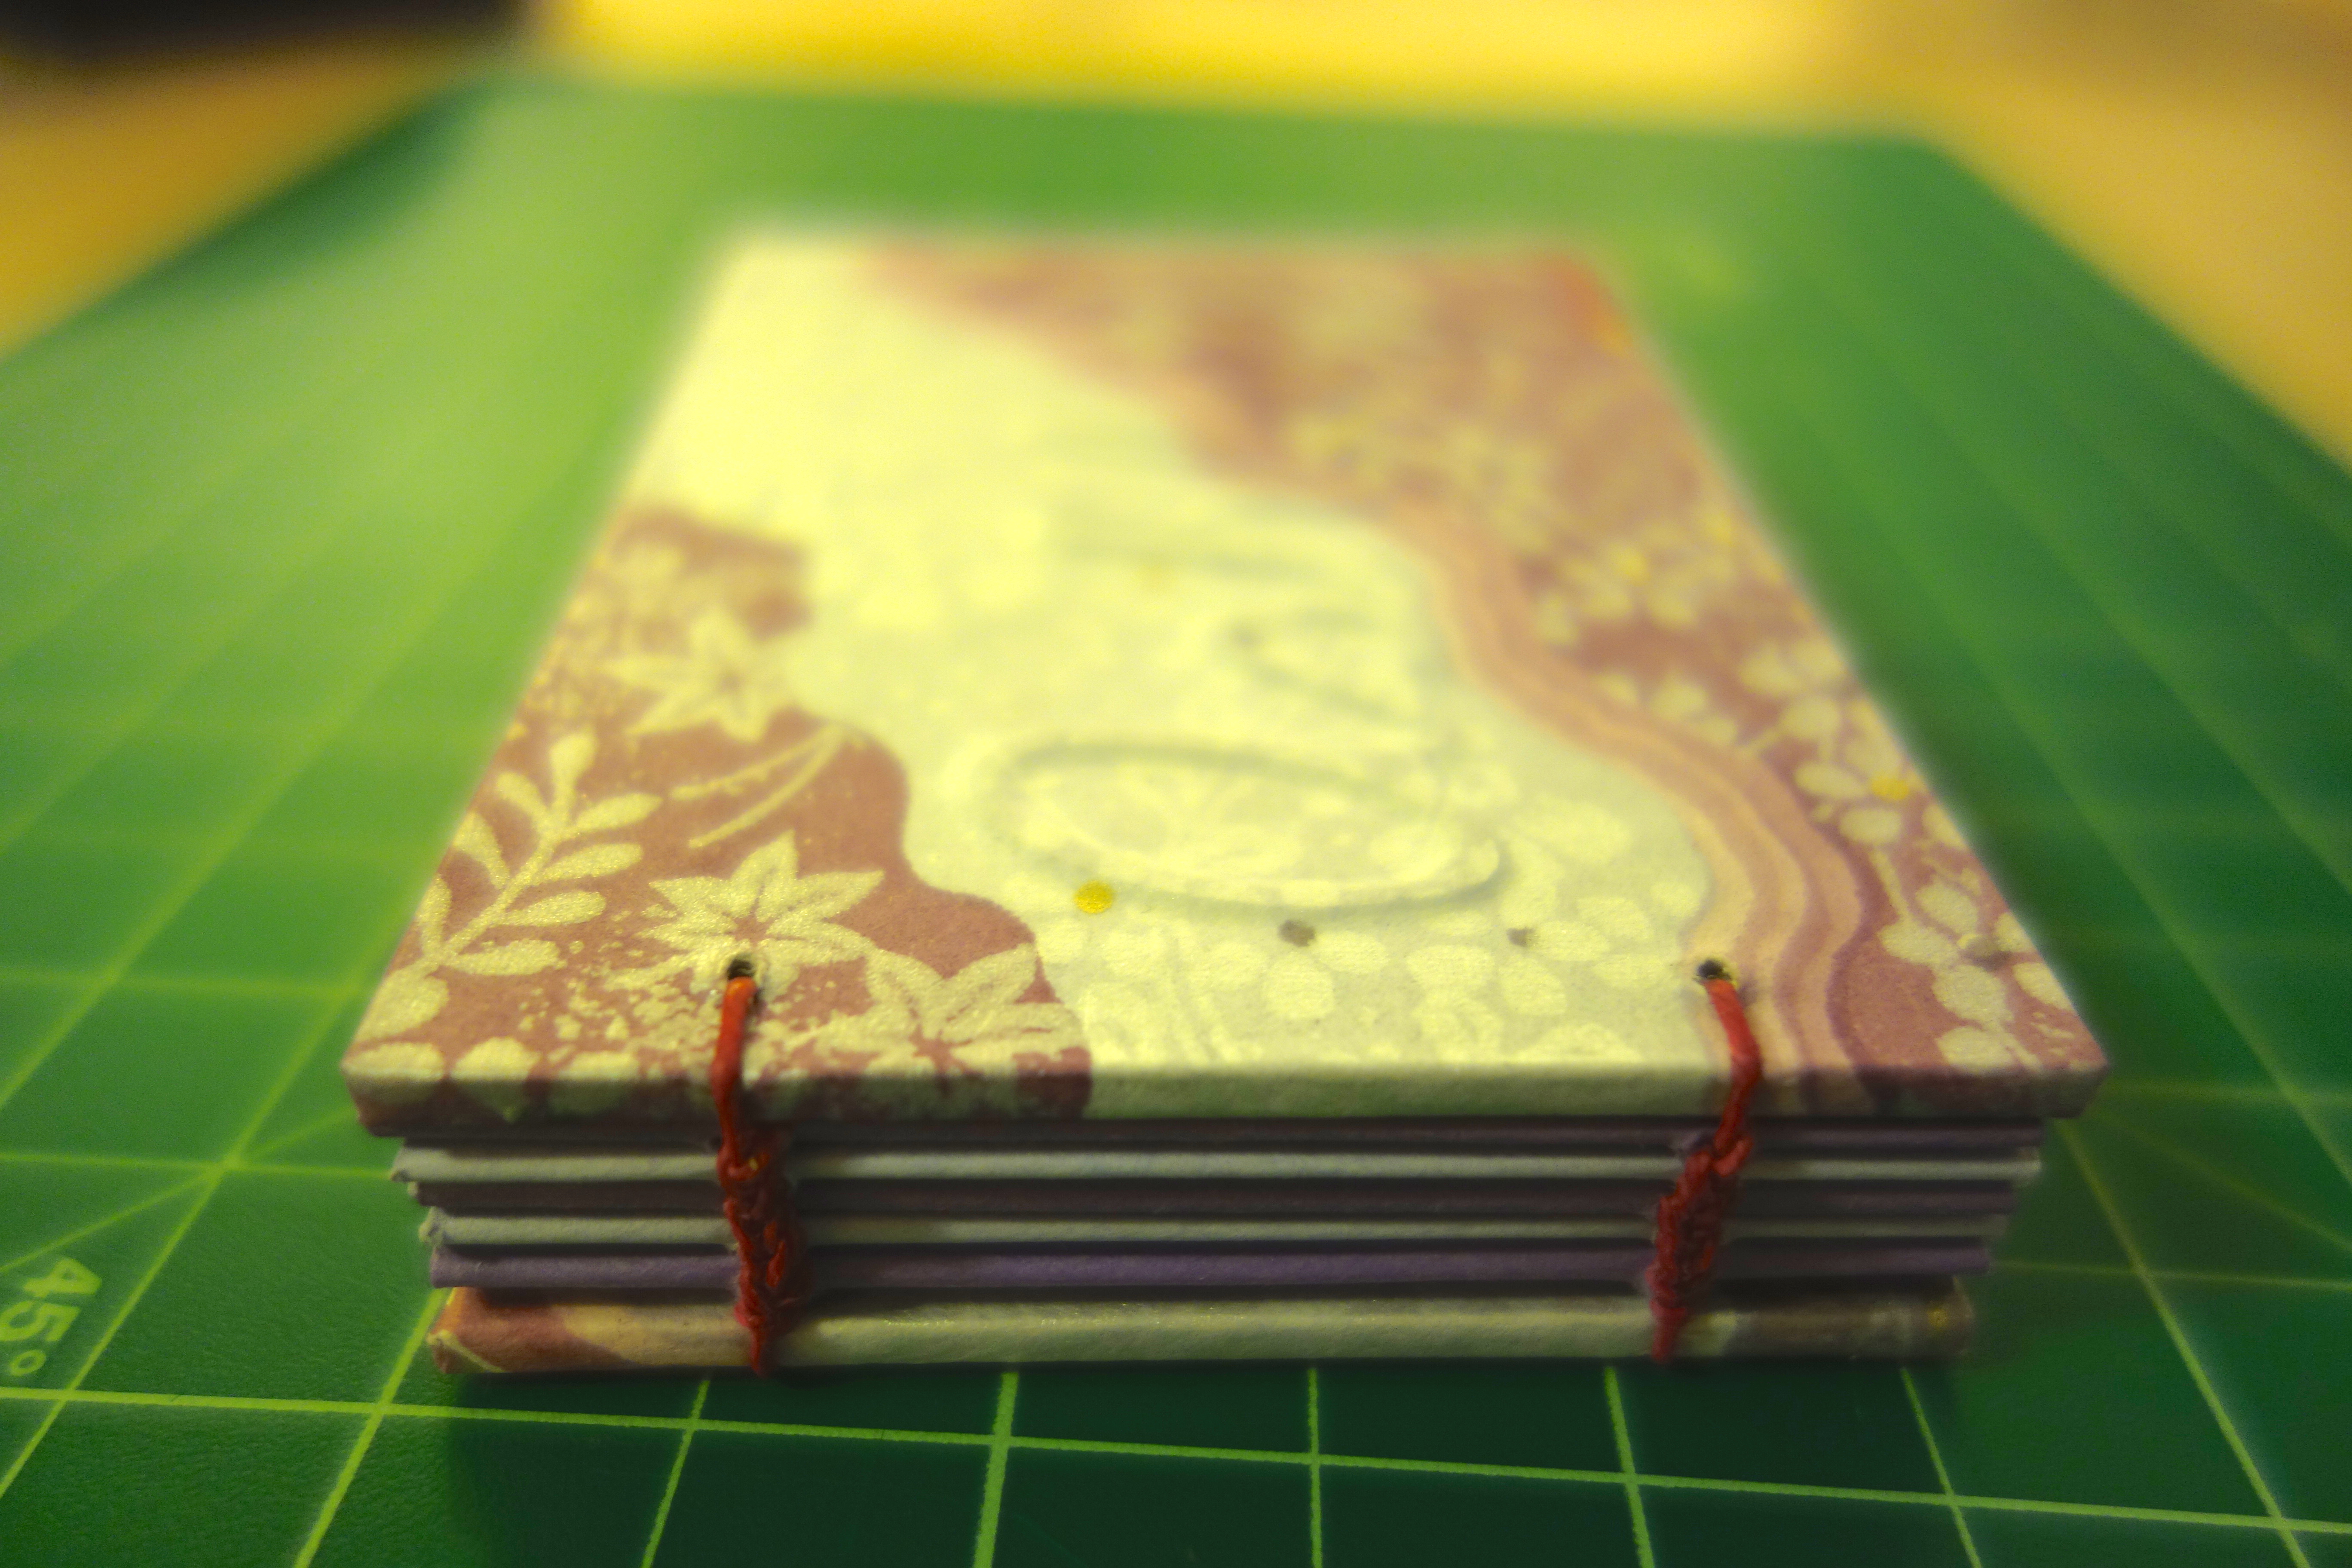
Here’s the finished book again, just awaiting being filled with photos: